
Article: Crow Makeup Tutorial: Create This Haunting Crow-Inspired Look

Crow Makeup Tutorial: Create This Haunting Crow-Inspired Look

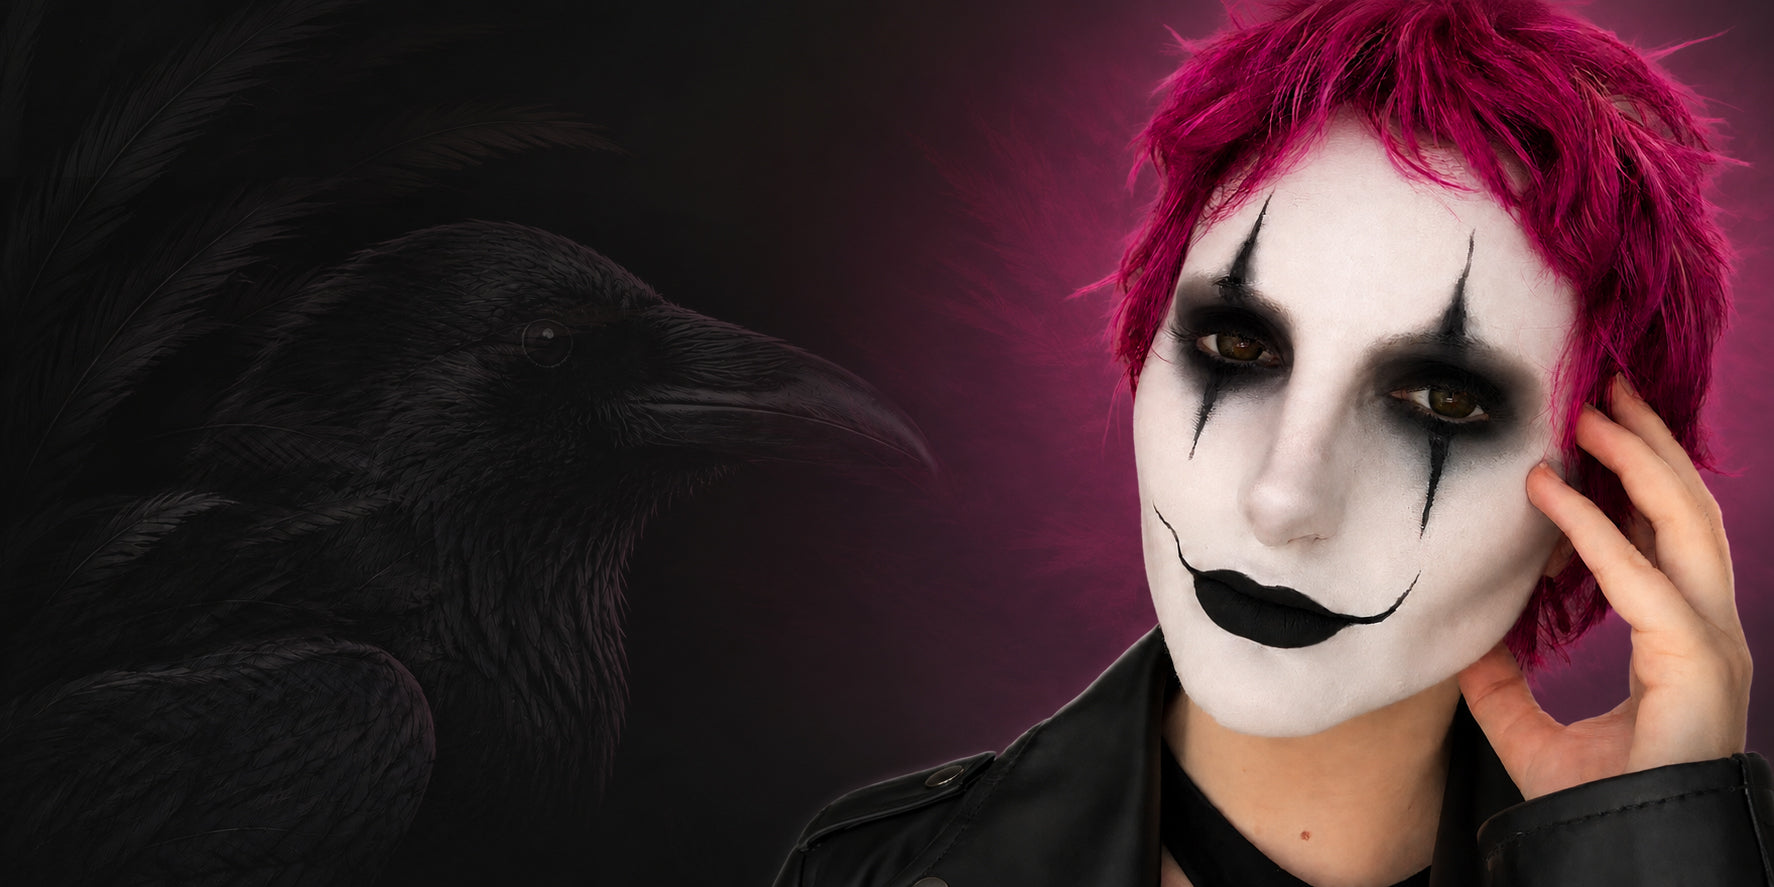
Crows have long been associated with mystery, intelligence, transformation, and the darker side of nature, making them a powerful source of inspiration for creative makeup. A crow makeup look is often defined by a contrasting black-and-white palette, smoky eyes, sharp feather-like shapes, and an expressive, slightly haunting finish. While it works beautifully with gothic styling, the look can also be adapted for editorial makeup, cosplay, performances, photoshoots, costume events, or Halloween.
In this step-by-step crow makeup tutorial, we’ll show you how to recreate the look with a stark white base, shadowed grey contour, dramatic black lips, smoky eyes, and sharp crow-inspired details.
Watch the complete transformation below, then follow the steps to recreate the look.
Crow Makeup Products Used in This Tutorial
- White Colorful Foundation
- Setting Powder #9 White
- Goth Highlight Contour Palette
- Black Lip Stain Liner
- Black Matte Liquid Lipstick #39 “Existence”
- Black Colorful Foundation
- Cross Design Stamp
Step 1: Create the White Base

Shake the White Colorful Foundation thoroughly before applying. Distribute the foundation across different areas of the face, then use your hands to spread it into an even layer.
Before blending, apply a small amount of foundation directly to a damp beauty sponge. This helps prevent the sponge from absorbing or lifting the foundation already applied to the skin. Gently tap the sponge over the face until the foundation appears smooth and evenly blended.
If more coverage is needed, build it gradually with another thin layer. Continue using tapping motions to avoid disturbing the foundation underneath.
Step 2: Set the White Base

Allow the White Colorful Foundation to sit for approximately five minutes before applying Setting Powder #9 White.
Coat a beauty sponge with the setting powder and gently press it over the entire face. Use pressing and tapping motions instead of rubbing, which could move the foundation underneath.
Make sure every area covered with foundation is also covered with setting powder. This helps lock the white base in place, reduce transfer, and create a smooth, matte canvas for the remaining steps.
Step 3: Sculpt the Cheekbones

Use the grey shade from the Goth Highlight Contour Palette to define the cheekbones and create a hollowed, shadowy effect.
Begin beneath the cheekbones near the ears and blend the color inward toward the center of the cheeks. Gradually build the grey rather than applying too much at once.
Keep the shading deepest near the outer edges of the face and soften it as it moves inward. This creates dramatic definition while allowing the contour to blend smoothly into the white base.
Step 4: Outline and Extend the Lips

Use the Black Lip Stain Liner to trace the outline of the lips and sharpen their shape. Slightly exaggerate the outer edges for a fuller, more theatrical appearance.
Starting at each corner of the mouth, draw a thin curved line outward and slightly upward. Gradually taper each line to a fine point, keeping the two sides as balanced as possible. These extended lines create the look’s eerie, dramatic smile.
Step 5: Fill in the Black Lips

Fill the outlined lip shape with Black Matte Liquid Lipstick #39 “Existence.” Begin at the center of the lips and work outward, using the lip liner as your guide.
Apply a thin, even layer and carefully refine the edges without covering the extended lines. Allow the lipstick to dry completely for an intensely black, matte finish.
If more opacity is needed, apply a second thin layer after the first layer has dried.
Step 6: Create the Smoky Black Eyes

Apply the black shade from the Goth Highlight Contour Palette across the eyelids and around the eyes. Blend the shadow outward and diffuse it beneath the lower lash line to create a wide, heavily smoked shape.
Gradually build the black shadow until you achieve the desired depth and intensity. The blending does not need to look perfectly polished—a slightly uneven, distressed finish adds to the look’s dark, theatrical appearance.
Step 7: Paint the Sharp Black Eye Points

Using the Black Colorful Foundation, paint a long, tapered point above each eye. Begin close to the upper eye area and extend the points toward the forehead, gradually narrowing each one to a sharp tip.
Next, paint a narrower point beneath each eye, extending downward onto the upper cheeks. Keep the edges slightly irregular for a distressed, hand-painted appearance.
Try to make the points on both sides similar in length and placement, but they do not need to be perfectly identical. Slight variations enhance the artistic, hand-painted effect.
Optional: Add the Cross Accents

For an extra gothic detail, use the Cross Design Stamp to add three small inverted crosses: one centered between the eyebrows and one beneath the outer corner of each eye.
Press the stamp directly against the skin without sliding it to help preserve the shape and keep the edges defined. Allow each stamp to dry before touching it or applying makeup nearby.
Keep the original crow look without the stamps, or add the three inverted crosses for an extra gothic finishing touch.
Make the Look Your Own
This dark, theatrical style can be adapted for gothic photoshoots, performances, cosplay, costume parties, Halloween, or creative makeup year-round. Personalize it by changing the length and placement of the sharp eye points, adjusting the intensity of the grey contour, or experimenting with different Design Stamps.
